Hands
![]()
 |
 |
|
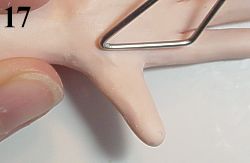
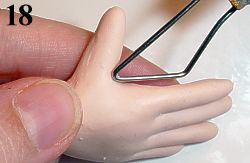
Push the thumb firmly against the hand, blend the seams on all sides with a sculpting tool and smooth with your fingers (pict. 17-18). When the thumb is too long or thick, cut off a piece and re-shape the thumb. |
|
 |
 |
|
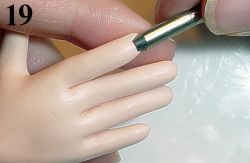
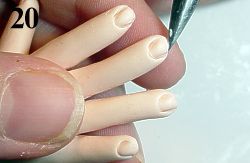
Nails can be made in many ways. You can draw lines with a knife or other sharp tool. You can also slantwise cut off a piece of a lemonade straw and use this to make an indent of a nail. For this lesson I used a little hollow chisel. They are normally used for chiseling wood but they are also very handy (when you turn them around) for making nail prints on clay fingers (pict. 19). Use a sharp tool to correct the lines if necessary (pict. 20). |
|
 |
 |
|
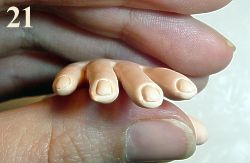
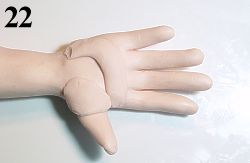
Don't forget to attach the lines at the fingertips, so the nails will look like they lay on the finger (pict. 21). This is very precise work. We will now continue with the palm of the hand. You can make it as detailed as you like, it also depends on the pose of the doll and if the palms of the hands are visible or not. If they are not visible you can keep it more simple. Place a C-shaped slice of fimo on the palm and an extra slice at the beginning of the thumb (not too thick) as in pict. 22. |
|
 |
 |
|
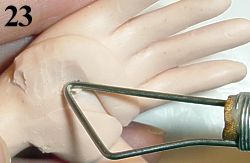
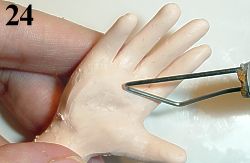
Press the slices and the seams firmly, gently blend the seams using a sculpting tool (pict. 23) make sure the palm looks natural. When all the seams are blended (pict. 24), moisten your finger and smooth the hand palm by rubbing it with your finger. |
|
 |
 |
|
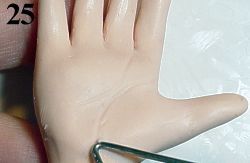
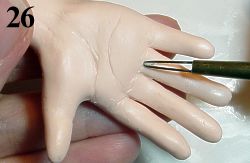
Now it is time to add some lines to the hand palm, you can use a thin sculpting tool for this (pict. 25). Look at your own hands where the lines should be. Add some lines at the beginning of the fingers using a mini tool or a toothpick (pict. 26). |
|
 |
 |
|
Also draw lines on the inside of the fingers, again watch your own hand closely to see how this looks. (pict. 27). The inside of the hand is finished now, we turn the hand around and continue with the back. It depends on the kind of hands you want, how you will proceed. If you want real smooth elegant hands, you better not add big knuckles. Just a few 'knuckle lines' at the place of the knuckles will look nice too. If you want more detailed hands you proceed like this. Place thin slices of fimo in the middle of each finger and slices just under the fingernail. You also add slices fimo on the knuckles of the hand (pict. 28). |
|
 |
 |
|
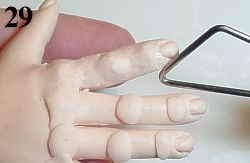
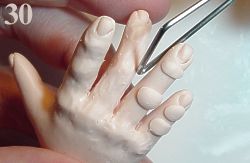
Carefully blend the seams with your sculpting tool until the seams are smoothened. (pict. 29-30), don't forget the sides of the fingers. Try to hold on to the shape of the knuckle, don't blend too wide, or it might end up looking more like a tumor than a knuckle... ;-). This is very precise work that will take some time. |
|
 |
 |
|
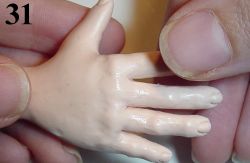
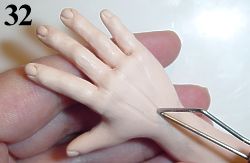
It still looks a bit rough at this point. Moisten your finger and 'polish' the fingers to make them smooth, without fading out the knuckles (pict. 31). Between the knuckles on the hand, you draw some lines with your sculpting tool towards the arm, to accentuate some of the muscles (pict. 32). Rub the lines with a finger to blur and make it look more natural. |
|